Staying classy is about being effortless...which is why I love Lorac’s baked bronzer. I have been using this product since college and the reason I bought it in the first place was simply because I thought it looked pretty (confessions of a shallow make-up consumer)! I had no idea how to use a highlighter and never thought I needed a bronzer. The Tantalizer is now a staple in my make-up kit and routine.
If you’re familiar with the contour craze, you know that contouring creates certain angles of the face. It looks great on camera, but can sometimes look over done in person. That is why I prefer this quick and simple alternative. Aside from that, it takes a lot of work and make up knowledge to contour. Time we don’t always have in our “on-the-go” lifestyle. I make a serious effort to be able to get ready in 30 mins day or night.
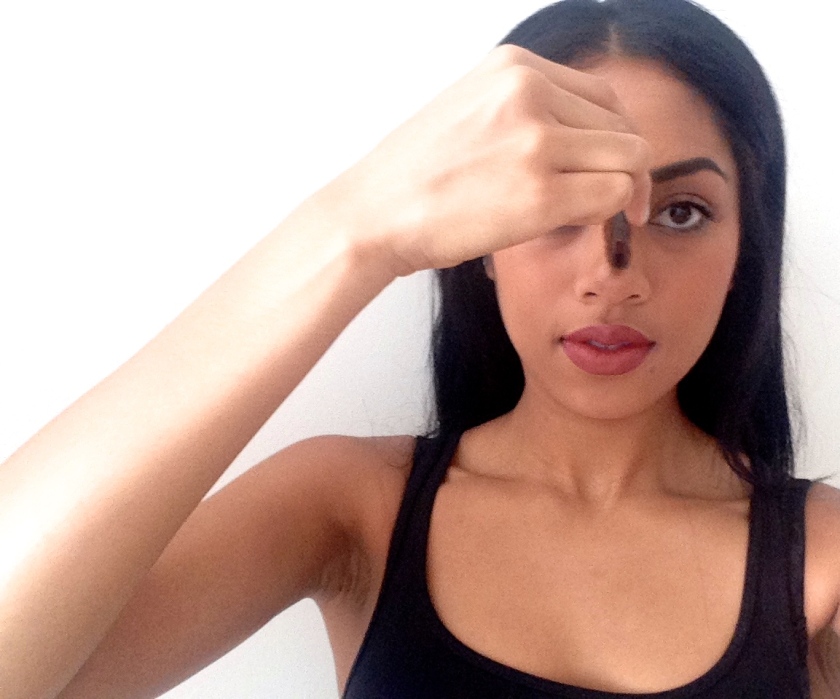
Here’s how easy highlighting is using the LORAC TANtalizer Baked Bronzer. Watch my steps in selfies. Highlight in these 3 spots for a sheen and sharper look.
BEFORE:
STEP 1: Highlight the bridge of the nose. STEP 2: Highlight the cheek bone to define bone structure.
 STEP 3: Highlight between the outer edge of the brow and hairline.
 AFTER
AFTER 1-2-3 simple and easy! This is my go-to fast, dewey and fresh faced look! #StayClassy


You are so gorgeous! I think I just had a woman crush on you ❤
LikeLiked by 1 person
Awww, you are so sweet! Thank you so much!
LikeLike
you are sooo pretty! x
just followed, would be much appreciated if you followed back ❤
LikeLiked by 1 person
Thank you so much! Likewise and of course I’ll follow back 🙂
LikeLiked by 1 person
You are stunning!!
LikeLiked by 1 person
Thank you so much, likewise 🙂
LikeLike